
DIY Baby Bottle Shaker Card
Learn how to create a sweet baby bottle shaker card for expecting parents or your next baby shower. This handmade baby card is perfect paired with something special or gifted on its own. I’m sharing my free printable template and SVG cut file so you can create this card too!

Hello Crafty Friends! Two of my close friends recently had baby showers and I wanted to create a sweet card for them. I designed a cute baby bottle shaker card and had so much fun making it! Today I’m sharing the tutorial with you along with the free template.
These cards can be made in any color scheme you’d like from gender neutral to the expecting parents’ favorite colors! The shaker part of the card is created using foam tape, clear plastic and sequins. I have linked to all of the supplies I used in the tutorial. Overall the card is simple to make and is perfect for baby showers and expecting parents before or after baby arrives.
Update: I originally made this card by hand using my printable template. Since then, I have made this card many times and turned my template into an SVG cut file so I could make this card with my Cricut Explore. I’ve updated the tutorial to include instructions and pictures of how to create the card both by hand, and with a cutting machine.


How to Make a Baby Bottle Shaker Card
Supplies Needed:
- Free PDF and SVG Cut Files – Grab the free files by filling out the purple form at the bottom of this post.
- Cardstock for the background of the card (10″ x 7″) or a purchased 5″x7″ blank card
- Colored cardstock for the bottle
- Craft plastic – I use Grafix .007 Clear Craft Plastic
- 1/4″ or 1/2″ wide Foam Tape
- Sequins or confetti
- 1/4″ ribbon, yarn, or Baker’s Twine to create a bow
- Tape runner or glue stick
- Cutting by hand: paper trimmer and scissors
- Cutting with Cricut: Cricut cutting machine, cutting mat and tools.

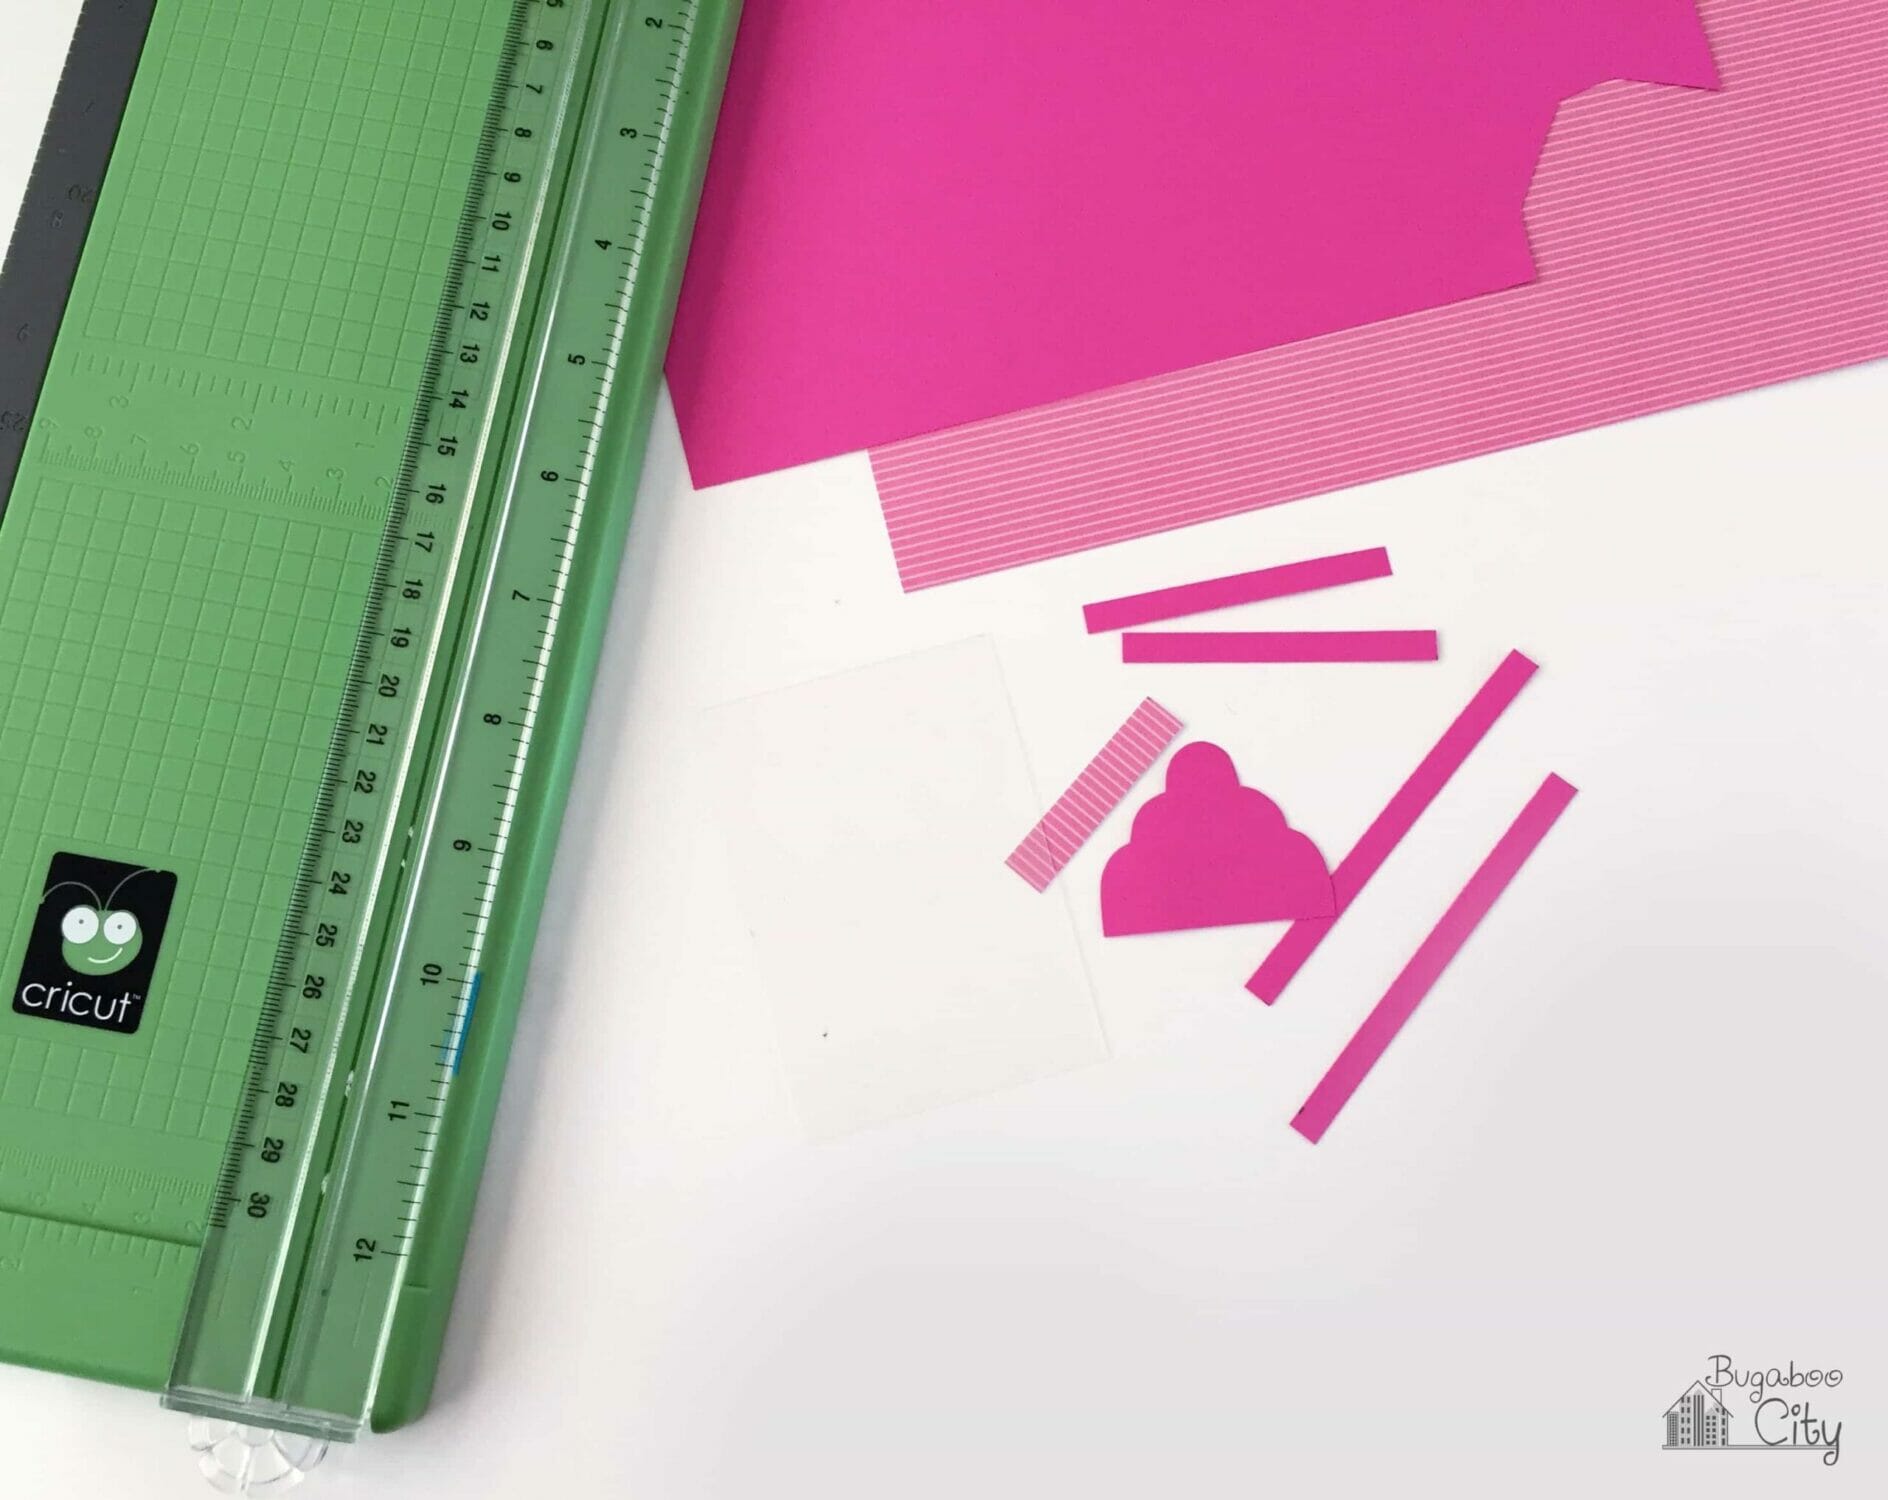
Step One: Cut out the paper pieces.
Use my free printable template or SVG cut file to cut out the pieces needed for the shaker card. If cutting the card by hand, a paper trimmer can be really helpful to get nice straight lines.
Using a Cricut Cutting Machine:
Download and save the SVG cut file to your computer. Open Cricut Design Space, upload the SVG. It will be sized to fit a 5″ x 7″ card. You can ungroup the SVG and duplicate the large rectangle if you’d like to cut the
If you’d like to add text for your Cricut to write with a Cricut Pen, first create a rectangle that measures 10″x7″. This will be the card base. Keep the design to the right of the rectangle, which will be the front of the card after it is folded.
Ungroup the SVG and position the bottle pieces on the card. Use the text tool to write a message and then attach it to the rectangle. I used the font DTC Apple Cider and made sure my operation said “pen” before I attached it. I also added stars using the Star Image #M81C3E71. I searched star under Images and filtered by the operation type to Draw Only.
> Use the Baby Card Base I designed in Cricut Design Space. You will still need to upload my bottle SVG cut file to use with the base of this card.

Step Two: Cut the foam tape.
The shaker part of the card is created using foam mounting tape and clear craft plastic. I used 1/2″ wide foam tape so I cut the tape down the center to create thinner strips of foam tape that were each 1/4″ wide. Cut two that measure 3.75″ x 1/4″ and two that measure 2″ x 1/4″.
Adhere the rectangle for the back of the bottle to the card. You can put this on a slight angle or straight up and down. Place the foam tape around the edges of the bottle.

Step Three: Create the shaker!
Fill the center of the bottle with sequins, confetti or glitter, keeping it within the borders of the foam tape. Cover the bottle with the piece of clear craft plastic, pressing down around the edges to seal the confetti.

Step Four: Create the bottle with cardstock.
Adhere the strips of paper around the edges of the rectangle to cover up the foam tape. The top edge has a slightly longer piece of paper than the bottom edge. Adhere the bottle nozzle on top of the rectangle and add the decorative band of paper on top.


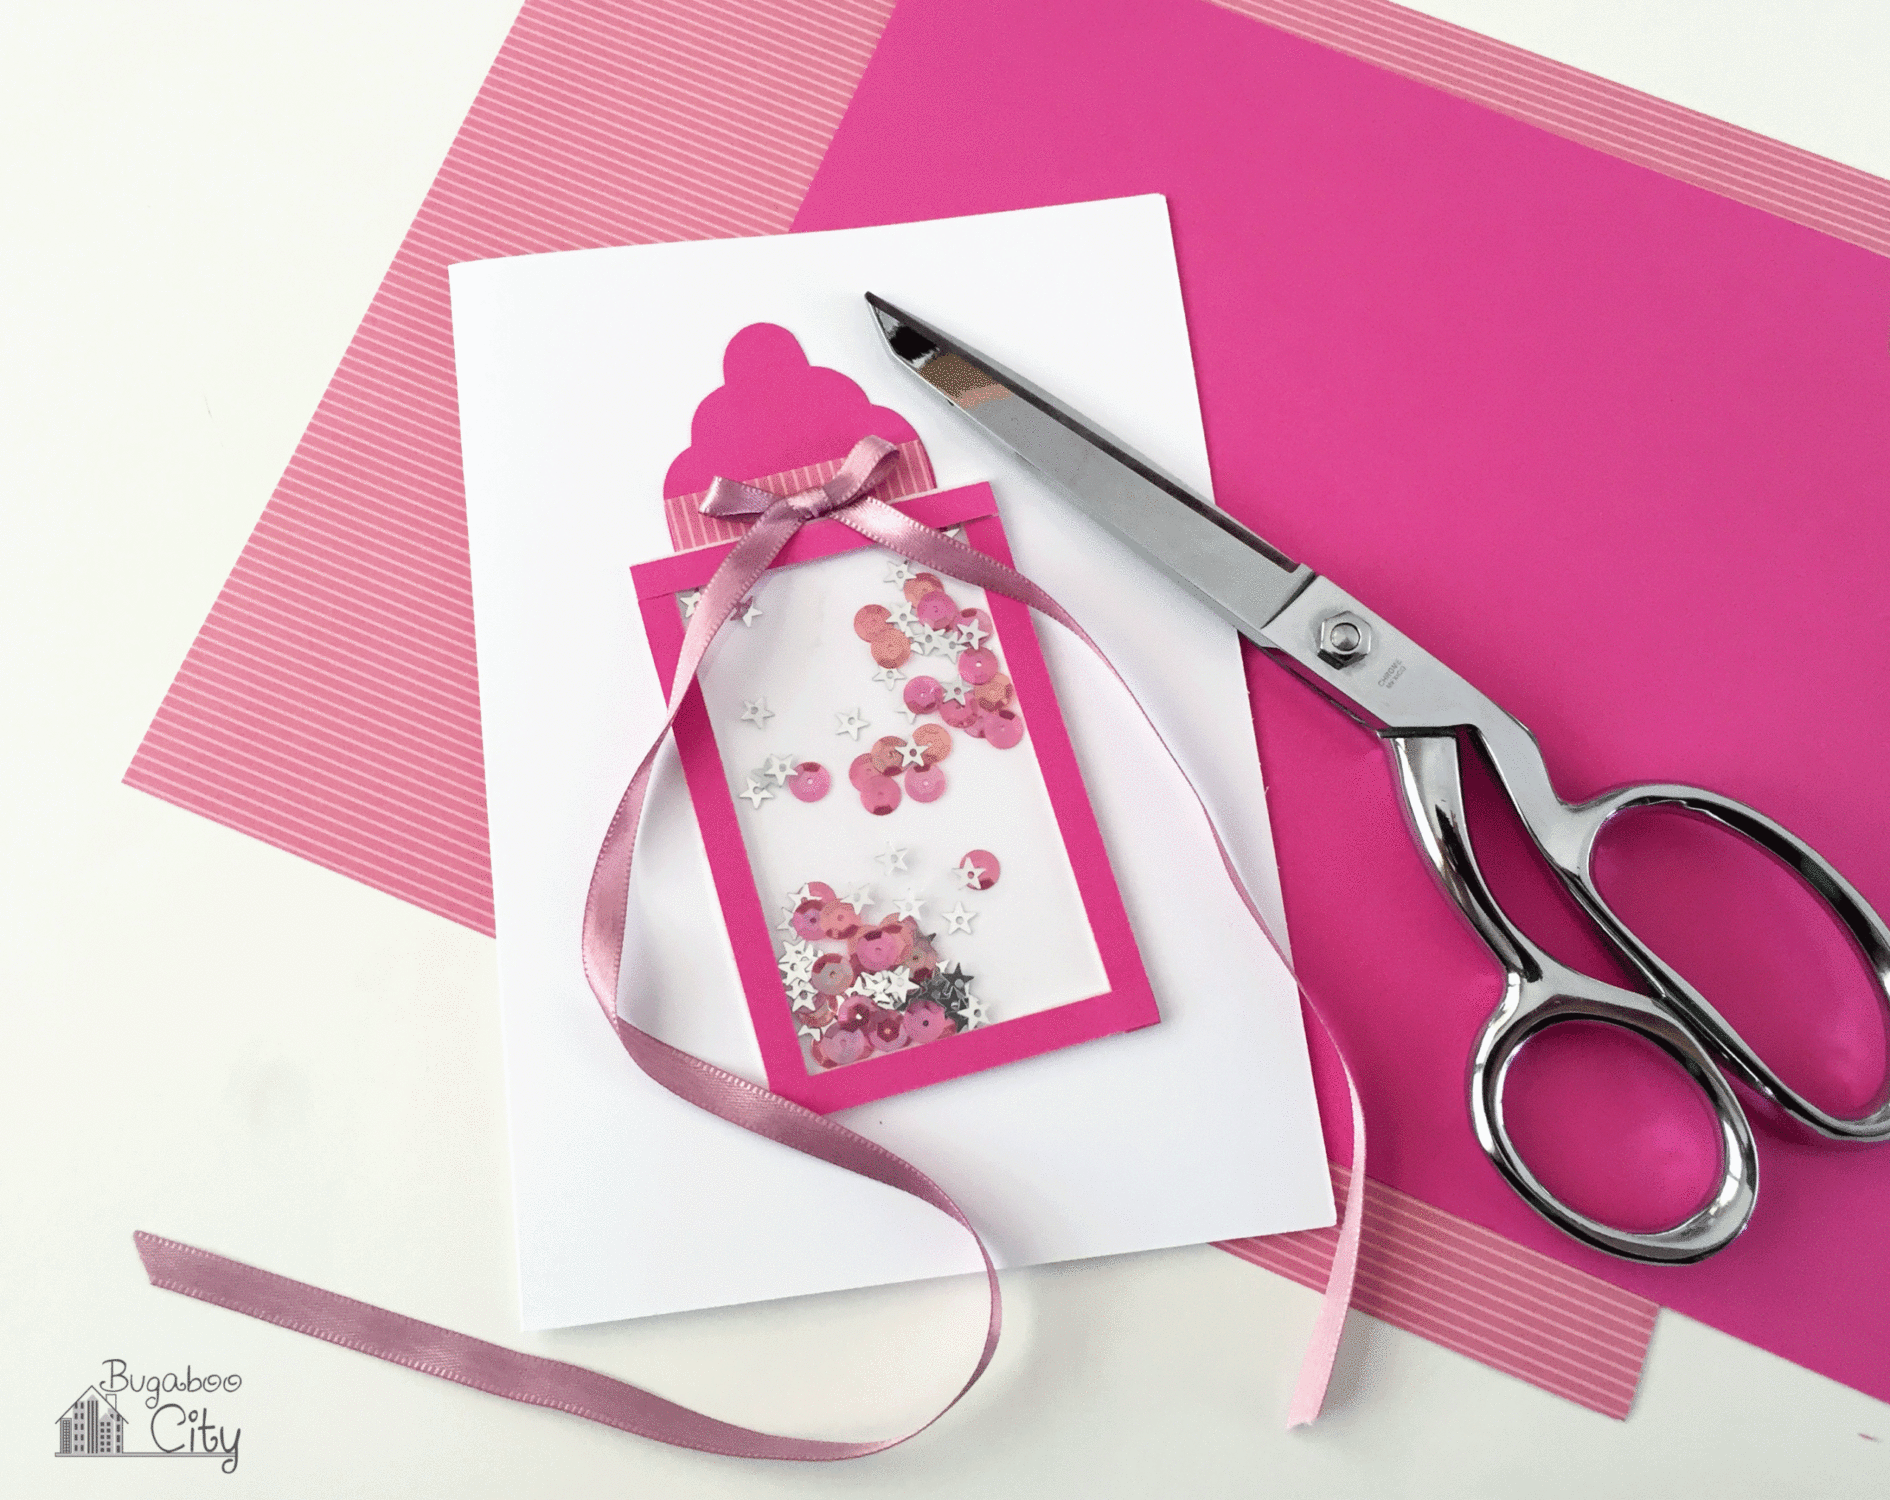
Step Five: Add a bow and decorate the card.
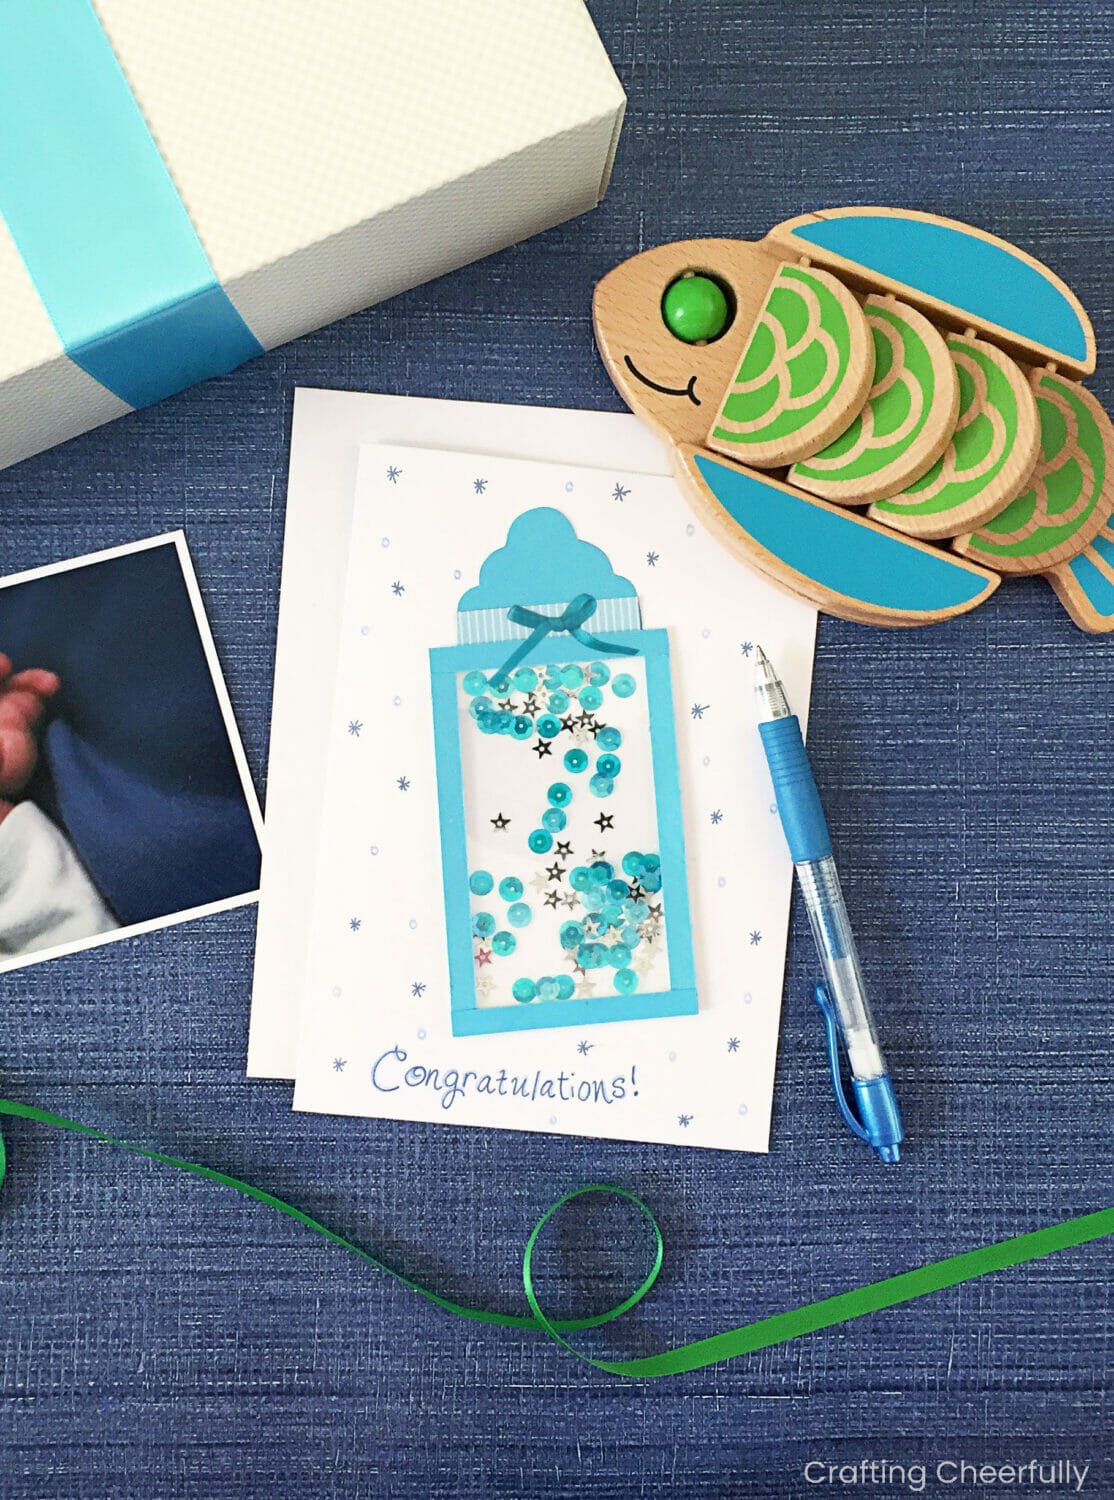
Add a sweet ribbon bow to the band on the bottle nozzle. I think this adds such a sweet touch to the card. I decorated some of my cards with little stars I made with gel pens and I wrote the word “Congratulations” across the front of the card.


For the cards I made with my Cricut, I added a ribbon bow and a few sequins.

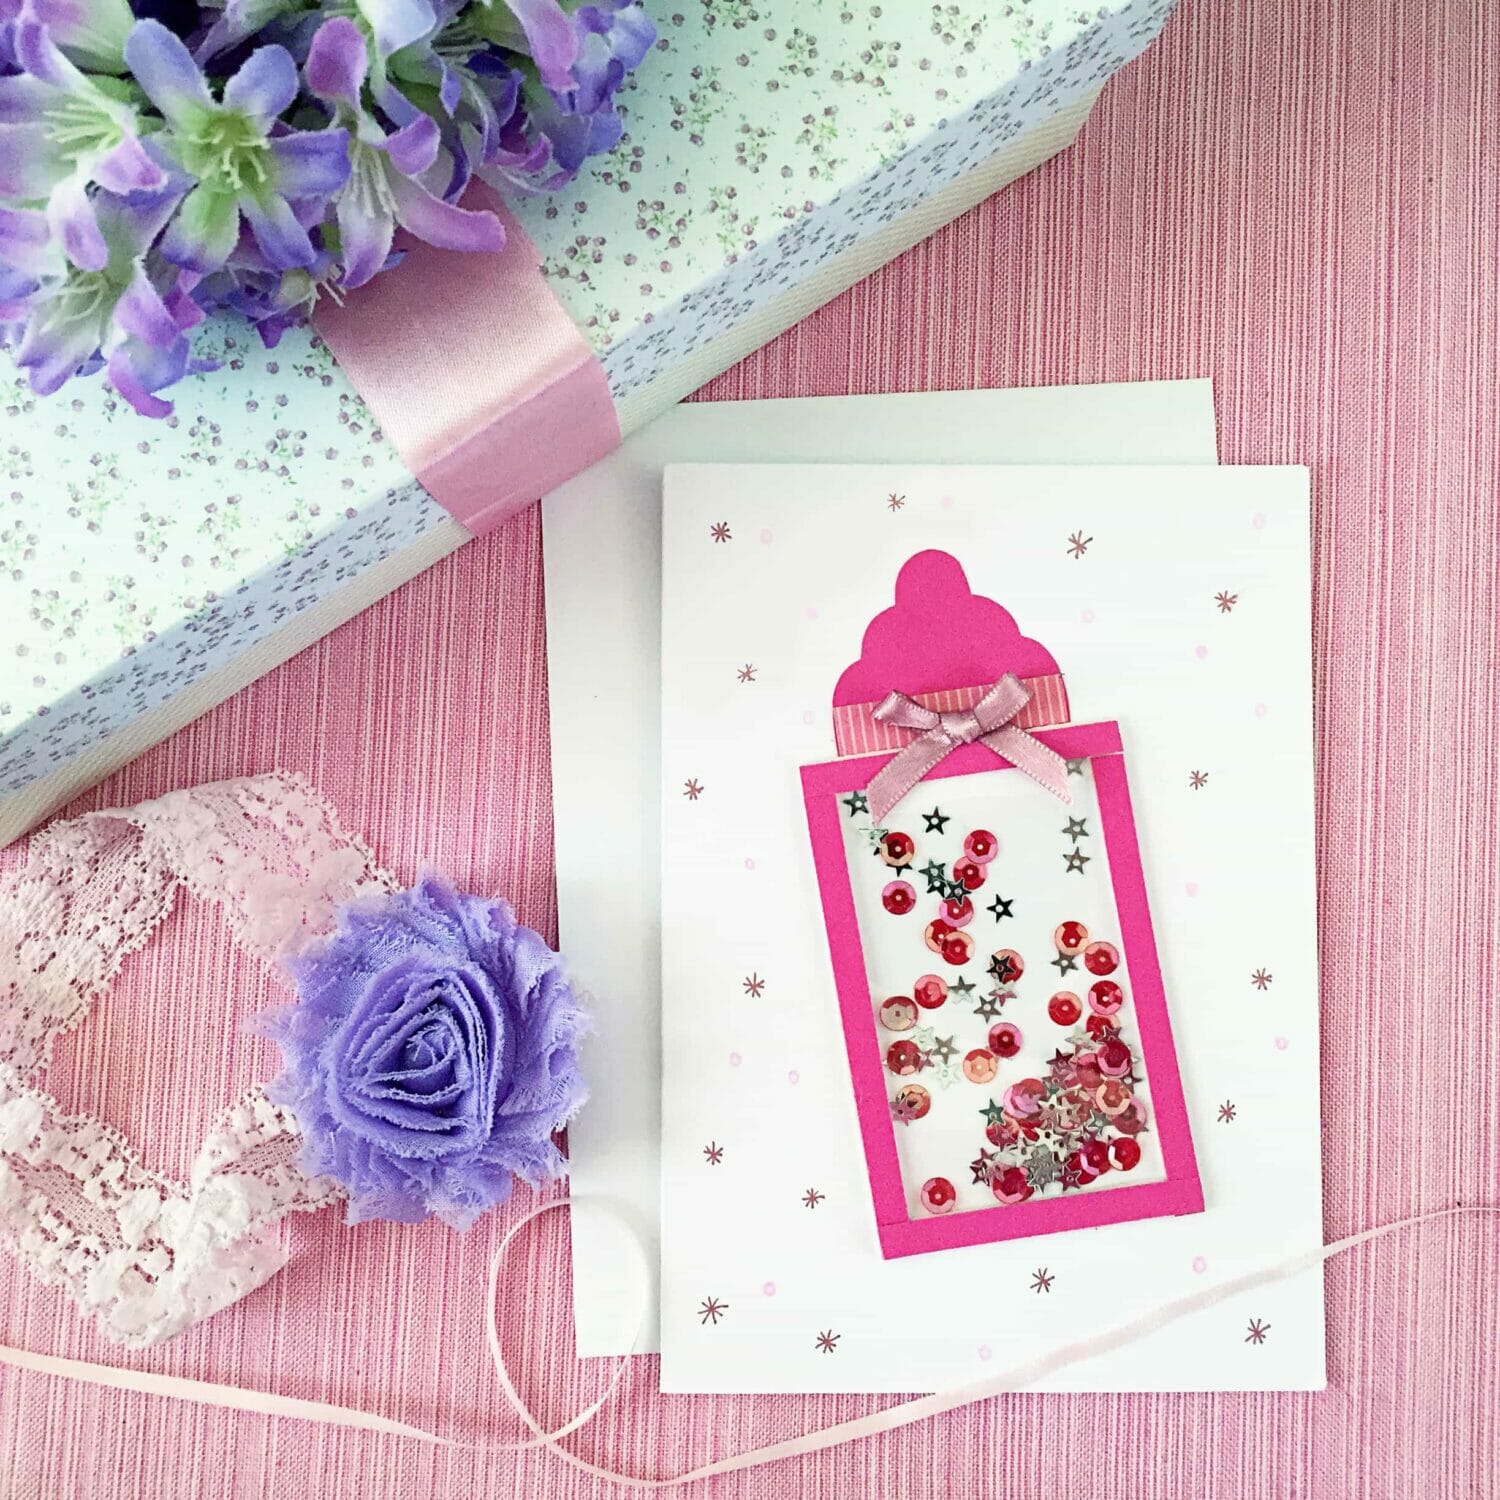
For this floral card I layered paper to create the background of the card base. I used patterned paper to create the main part of the bottle and lots of fun sequins. To finish it the card, I added the word “love” using foam tape.

These cards are simple to make and the shaker part makes them so fun to receive! I have loved using this same basic pattern to create different versions of this bottle card, it is my go-to handmade card for baby showers and expecting parents.
You’ll find more baby-related craft tutorials on my Baby Craft Page!
Get the Free Baby Bottle Shaker Card Files!
Fill out the purple form below with your first name and email address! The free file will be sent straight to your inbox! If you have already filled out the form below, don’t worry – you won’t be added to my list twice! This freebie is for personal use only. I hope you enjoy crafting something special. Please let me know if you have any questions :)


I really love the baby bottle design and want to make this card, but I can’t figure out a way to download it. Is it not available anymore? I’ve looked at the tutorial and also in the resource library, but I have no functioning “download” link.
Hi! The pattern is under Paper Patterns – Cards and Gift Tags in the Resource Library. I just double-checked and it seems to be working. Make sure you are using the black “Download” button and not the blue tutorial link. Feel free to email me at kimberly@craftingcheerfully.com and I’d be happy to email you the file if you are still having trouble :)